3 Pro Tips for Better-Looking Interviews
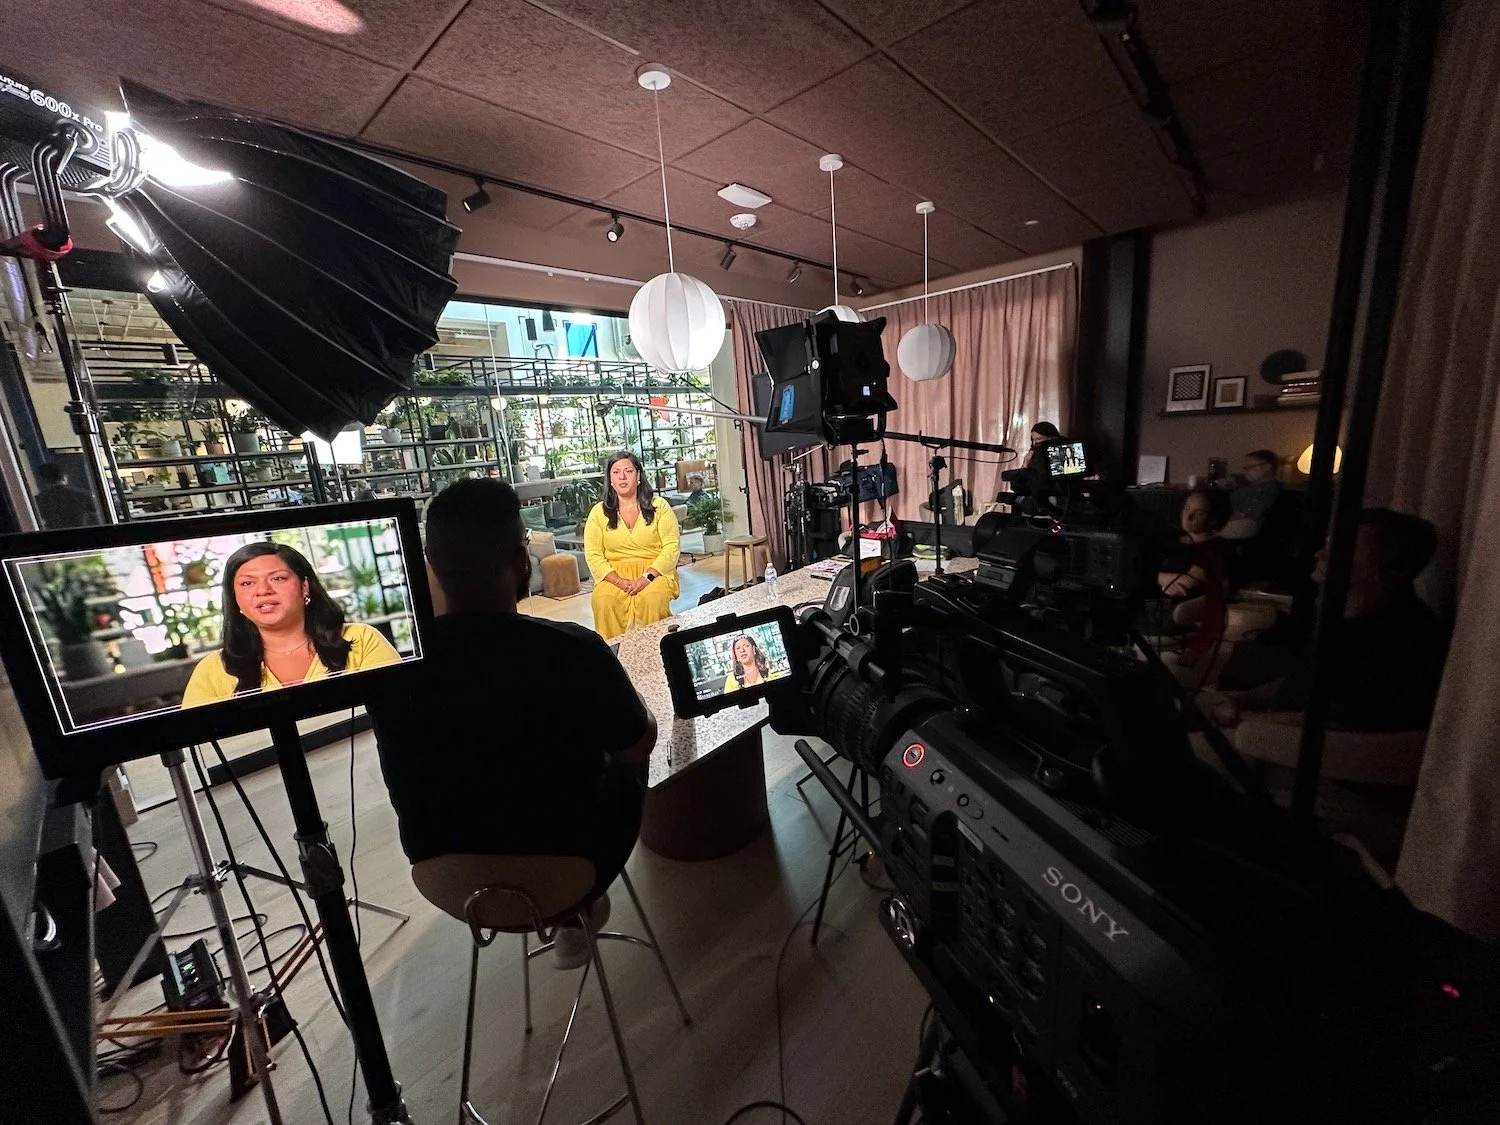
Interview set-up from one of our recent projects
If you work in the world of documentaries, television, or video marketing, you’re going to be setting up, lighting, and shooting interviews again and again.
It’s the bread and butter of this business, and if you can do it well under any circumstances, you’ll be more in demand.
But setting up a great-looking interview isn’t as simple as plopping someone in a chair and hitting record.
Whether you’re working with a video production partner, or setting up the interviews yourself for a quick social media clip, it’s useful to know a few simple tricks that can massively elevate how your interviews look.
Here are a few essentials:
1. Pull Your Interview Subject Away From the Background
Avoid putting your subject right up against a wall or window. Give them some space — ideally 6+ feet - from their background if possible. This accomplishes two things:
It creates depth, keeps the focus on them, and lets the background soften a bit (which always looks more professional).
It eliminates the shadow of your main key light from the shot. Nothing screams amateur more than putting a person against a wall and then having a gnarly shadow of their head right behind them.
2. Match Eyelines
Generally, you want the interviewer, the interviewee, and the camera to all be close to the same height. So seat the interviewer close to the camera lens, at the same eye level as the subject. This creates a natural, intimate connection with the viewer.
But like all rules, this can be broken - but do it with intention:
Want a more powerful, “heroic” feel? Lower the camera slightly so you’re looking up at them. But be careful as sometimes this might not look as flattering on the face.
Want a more detached, journalistic vibe? Move the interviewer further away from the lens so the subject looks more off-camera.
If your subject needs to speak directly to the audience, have them look into the lens. (Pro trick: have them answer the question normally first, then re-answer straight into the lens.)

Interview subject is looking just off camera to the interviewer
3. Use a Portrait Lens
An 80–100mm lens is the most flattering for your subject, and helps blur out the background. If you’re filming on a phone, use the 2x or 3x setting and step back a bit — it mimics that portrait look.
Bonus Tips:
Use a soft light source on the opposite side of the interviewer. This is usually a professional light with a soft box or some kind of diffusion in front of it. But a window can work too - as long as the hard sunlight is not hitting your subject. This “Key Light” will create depth on the face, and give a sparkling catch light in the eyes.
A little powder goes a long way if you don’t have a makeup artist — it cuts down on shine and helps skin look smooth on camera.
Final Note
These are quick fixes anyone use to elevate their interviews and make them look more cinematic. But when it really counts — like for brand videos, testimonials, or high-stakes interviews — having a professional crew makes all the difference. This allows you to focus on the content, and trust your video production partner to create a beautiful look.